
Below is the TH-D75 connection procedure. ( Many thanks Hiroshi JH4OWG )
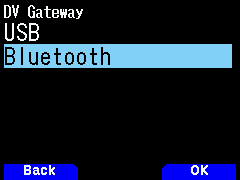
1. Access Menu No.985 (Configuration – Interface – DV Gateway) and set to “Bluetooth” for Bluetooth connection with the BlueDV connect application.
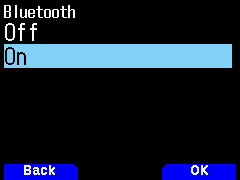
2. Access Menu No.930 (Configuration – Bluetooth – Bluetooth) and set to “On” to turn on the Bluetooth function.
The Bluetooth icon appears on the TH-D75 screen, but is currently grayed out (standby).
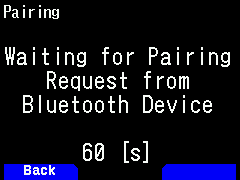
3. Access Menu No.934 (Configuration – Bluetooth – Pairing Mode) and press [A/B] (OK), then the pairing waiting screen appears. (A countdown starts from 60 seconds).
4. Perform the pairing from the Android device.
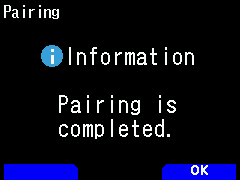
When pairing from an Android device, the passkey is displayed on the TH-D75 and Android device screens.
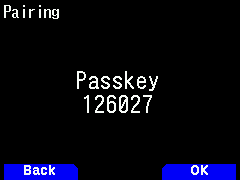
Press [A/B] (OK) on the TH-D75, and then perform the confirmation operation on the Android device as well.
The TH-D75 and the Android device are now paired via Bluetooth.
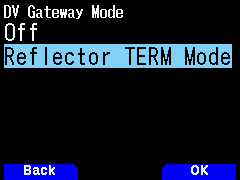
5. Access Menu No.650 (Digital – DV Gateway – DV Gateway Mode) and set to “Reflector TERM Mode” to enter the Reflector Terminal Mode.
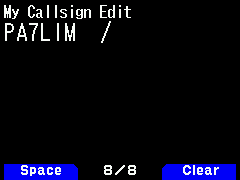
6. Access Menu No.651 (Digital – DV Gateway – My Callsign) and press [A/B] (Edit) to enter the callsign used in Reflector Terminal Mode operation.
(Note that the setting in Menu No.610 (Digital – TX/RX – My Callsign) does not apply to Reflector Terminal Mode operation.)
7. Launch the BlueDV connect application and press the OFF/ON button to turn the button from red to green.
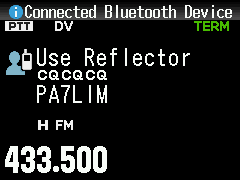
The TH-D75 will display “Connected Bluetooth Device” and the Bluetooth icon will change from gray (standby) to blue (active).
=>
=>
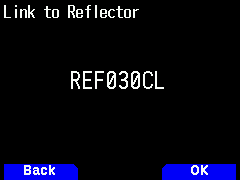
8. Press and hold [Δ](UP) on the TH-D75, select “Destination Select”-“Reflector”-“Link to Reflector” and set the link command such as “REF030CL” and press [A/B](OK).
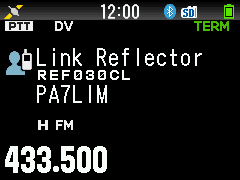
Then press PTT on the TH-D75 to connect to the Reflector.
=>
Alternatively, you can connect to the Reflector from the BlueDV Connect screen by selecting the Reflector and pressing the Connect button.
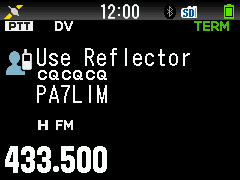
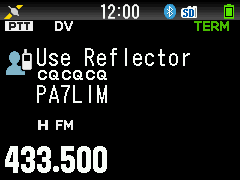
9. To make a QSO after connecting to a Reflector, press and hold [Δ](UP) on the TH-D75, select “Destination Select”-“Reflector”-“Use Reflector”.

Many thanks to Hiroshi JH4OWG for this document and for testing this software!